Supported clients
Click a card to jump to the detailed instructions for that tool.
Claude Code
ANTHROPIC_AUTH_TOKEN and ANTHROPIC_BASE_URL variables are not set in your environment. If they are present in ~/.bashrc / ~/.zshrc — remove them and restart your terminal.
Install Claude Code
Node.js 18+ is required. Install via npm:
npm install -g @anthropic-ai/claude-codeCreate the configuration file
Create the file ~/.claude/settings.json (on Windows: %USERPROFILE%\.claude\settings.json) and paste the configuration below. Replace YOUR_API_KEY with your API key.
{
"env": {
"ANTHROPIC_BASE_URL": "https://api.claude-popusk.shop",
"ANTHROPIC_AUTH_TOKEN": "YOUR_API_KEY",
"ANTHROPIC_MODEL": "claude-opus-4-8",
"ANTHROPIC_SMALL_FAST_MODEL": "claude-sonnet-4-6",
"ANTHROPIC_DEFAULT_SONNET_MODEL": "claude-sonnet-4-6",
"ANTHROPIC_DEFAULT_OPUS_MODEL": "claude-opus-4-8"
}
}Alternative — export the environment variables manually:
export ANTHROPIC_BASE_URL="https://api.claude-popusk.shop"
export ANTHROPIC_AUTH_TOKEN="YOUR_API_KEY"Run Claude Code in your project
cd /path/to/your/project
claudeCodex
Install Codex
Node.js 18+ is required. Install via npm:
npm install -g @openai/codexEdit the configuration file
Open (or create) ~/.codex/config.toml (Windows: %USERPROFILE%\.codex\config.toml) and add the lines below. Keep model and model_provider at the very top, above any [...] section. Replace YOUR_API_KEY with your key.
model = "claude-opus-4-8"
model_provider = "claude_pupusk"
[model_providers.claude_pupusk]
name = "Claude Popusk"
base_url = "https://api.claude-popusk.shop/v1"
experimental_bearer_token = "YOUR_API_KEY"Restart Codex
Restart Codex to apply the configuration — and everything is ready to go.
Cline
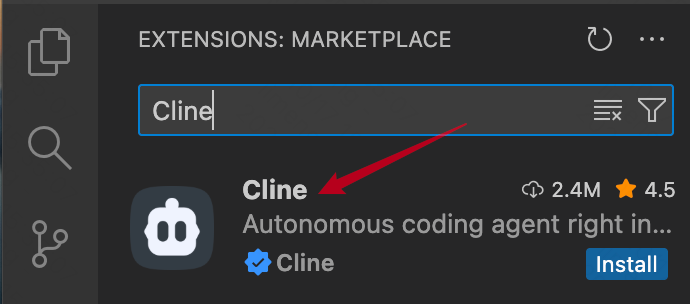
Install the Cline extension
In VS Code open Extensions (Ctrl/Cmd + Shift + X), search for Cline and click Install.
Open API settings
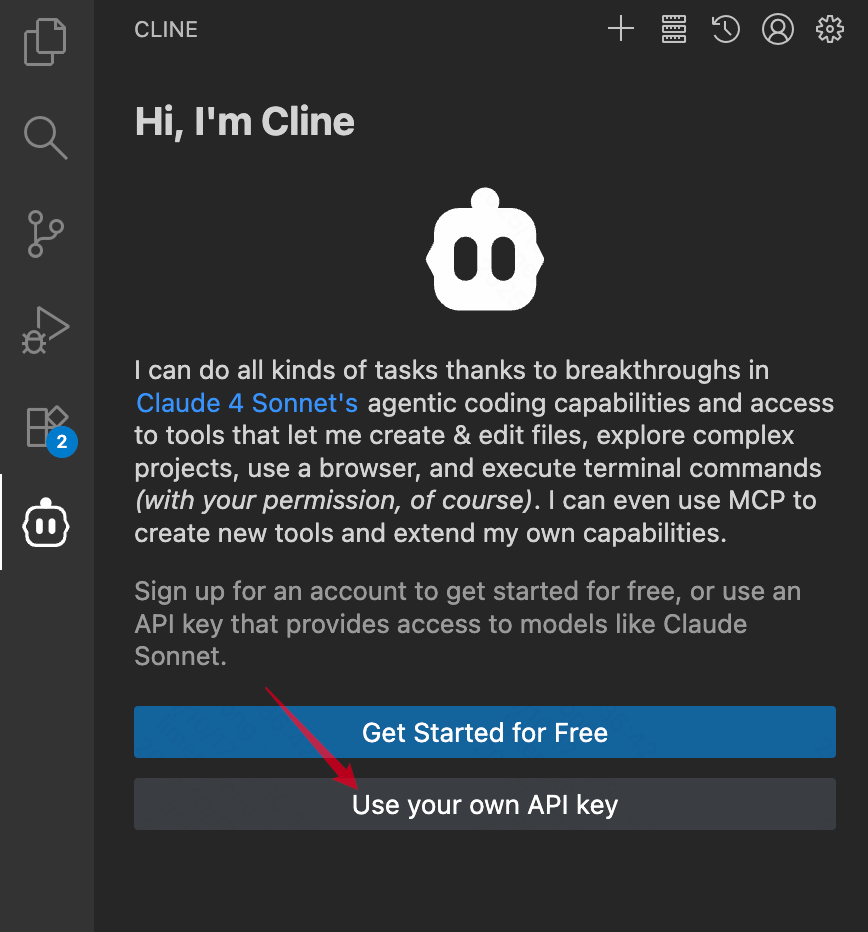
In the Cline side panel click the gear icon and choose API Key as the authentication method.
Enter the connection parameters
- API Provider:
OpenAI Compatible - Base URL:
https://api.claude-popusk.shop/v1 - API Key: your API key
- Model ID: e.g.
claude-opus-4-8,gpt-5.5
Start chatting
Save the settings and pick your newly connected model from the model dropdown. Cline is ready to go.
Kilo Code
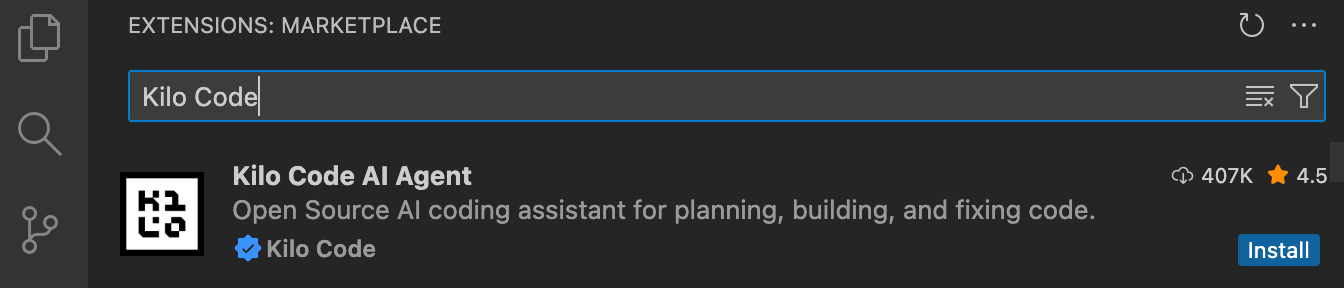
Install Kilo Code
Find Kilo Code in the VS Code Marketplace and click Install.
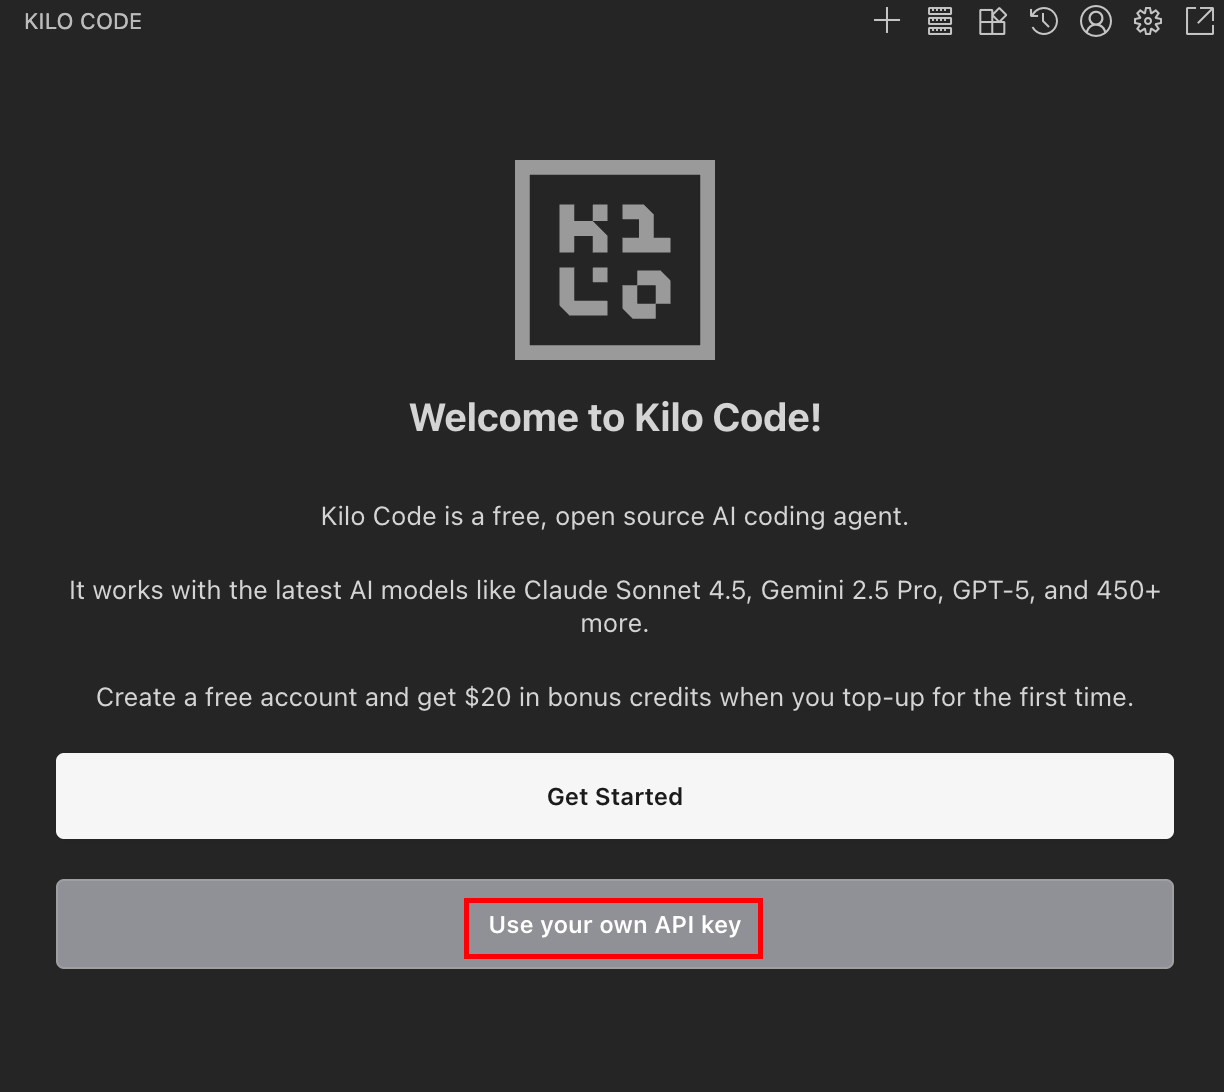
Choose authentication — API Key
Fill in the provider parameters
- API Provider:
OpenAI Compatible - Base URL:
https://api.claude-popusk.shop/v1 - API Key: your API key
- Model ID: e.g.
claude-opus-4-8orgpt-5.5
Get to work
Save the settings and switch the model in chat to the one you just added.
OpenCode
Install OpenCode
Via curl (recommended):
curl -fsSL https://opencode.ai/install | bashOr via npm:
npm i -g opencode-aiCreate the config
Create the file ~/.config/opencode/opencode.json with the following contents:
{
"$schema": "https://opencode.ai/config.json",
"provider": {
"claude-popusk": {
"npm": "@ai-sdk/openai-compatible",
"options": {
"baseURL": "https://api.claude-popusk.shop/v1",
"apiKey": "YOUR_API_KEY"
},
"models": {
"claude-opus-4-8": { "name": "claude-opus-4-8" },
"claude-sonnet-4-6": { "name": "claude-sonnet-4-6" },
"gpt-5.5": { "name": "gpt-5.5" }
}
}
}
}
Don't forget to substitute your YOUR_API_KEY. The models list can be extended.
Run and switch model
cd /path/to/your/project
opencode
Inside OpenCode run the /models command and pick the model.
Roo Code
Install Roo Code
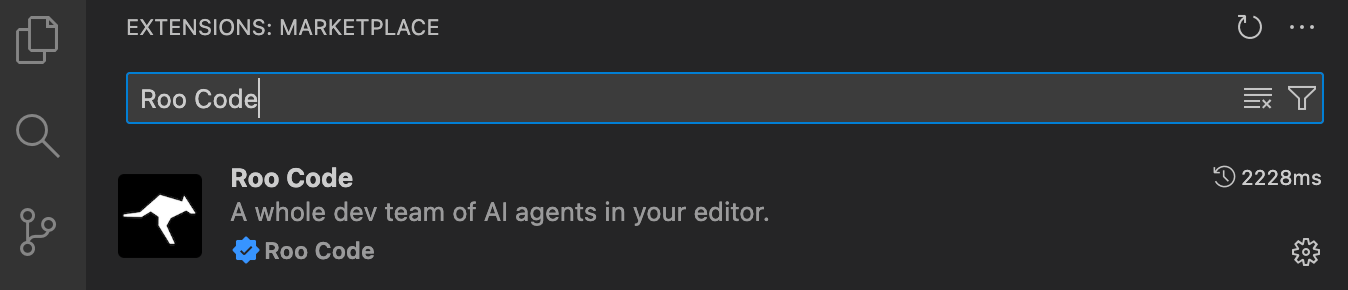
Find Roo Code in the VS Code Marketplace and install it.
Open provider settings
In the Roo Code side panel open Settings → Providers.
Fill in the parameters
- API Provider:
OpenAI Compatible - Base URL:
https://api.claude-popusk.shop/v1 - API Key: your API key
- Model ID: e.g.
claude-sonnet-4-6
Let's go
Save the settings. Pick your model from the chat header — and start writing tasks.
Available models
Use the exact model name when configuring your client. Click any item to copy.
Loading models…
Supported endpoints
The API exposes several protocol-compatible endpoints — pick the one your client speaks.
-
https://api.claude-popusk.shop/v1/chat/completionsOpenAI Chat Completions -
https://api.claude-popusk.shop/v1/responsesOpenAI Responses -
https://api.claude-popusk.shop/v1/messagesAnthropic Messages -
https://api.claude-popusk.shop/v1/modelsModels list -
https://api.claude-popusk.shop/v1/balanceToken balance